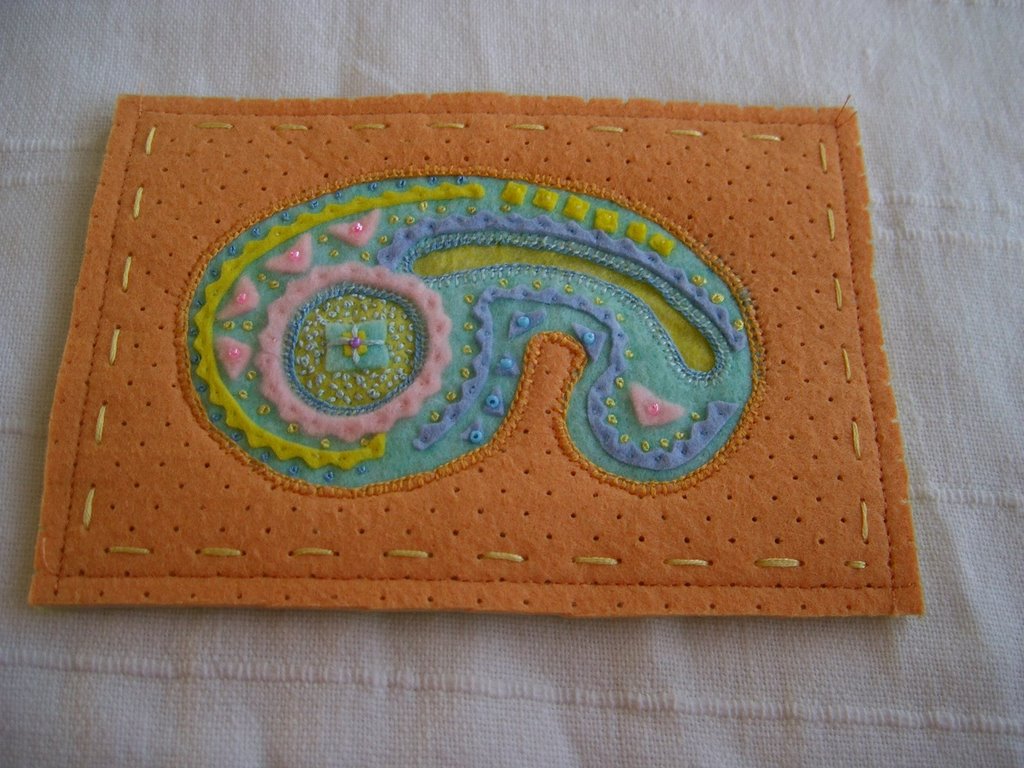
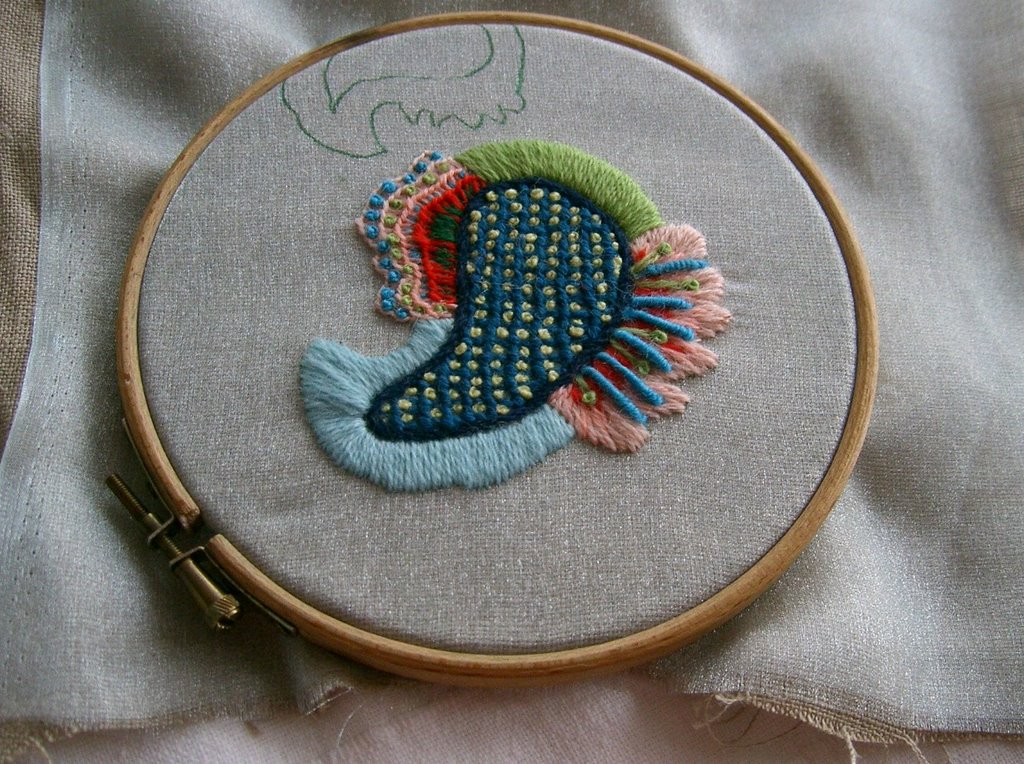
with shapes cut from washing up cloths, beads, buttonhole stitch, seeding and french knots - ready to finish as a postcard.
Here's a close-up:
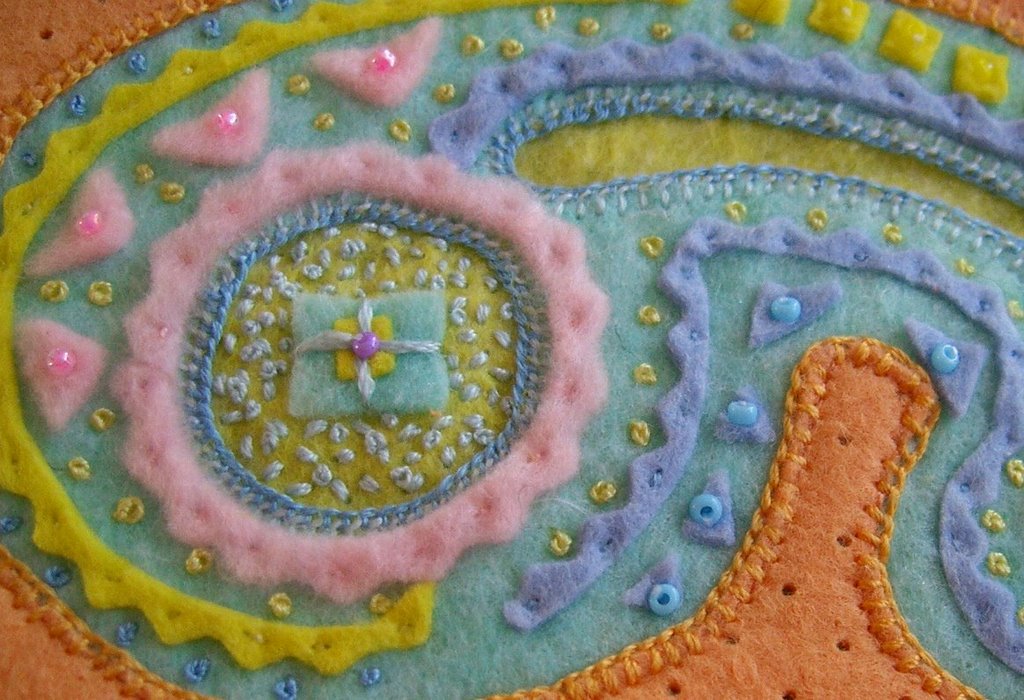
(Click on photos for bigger image)
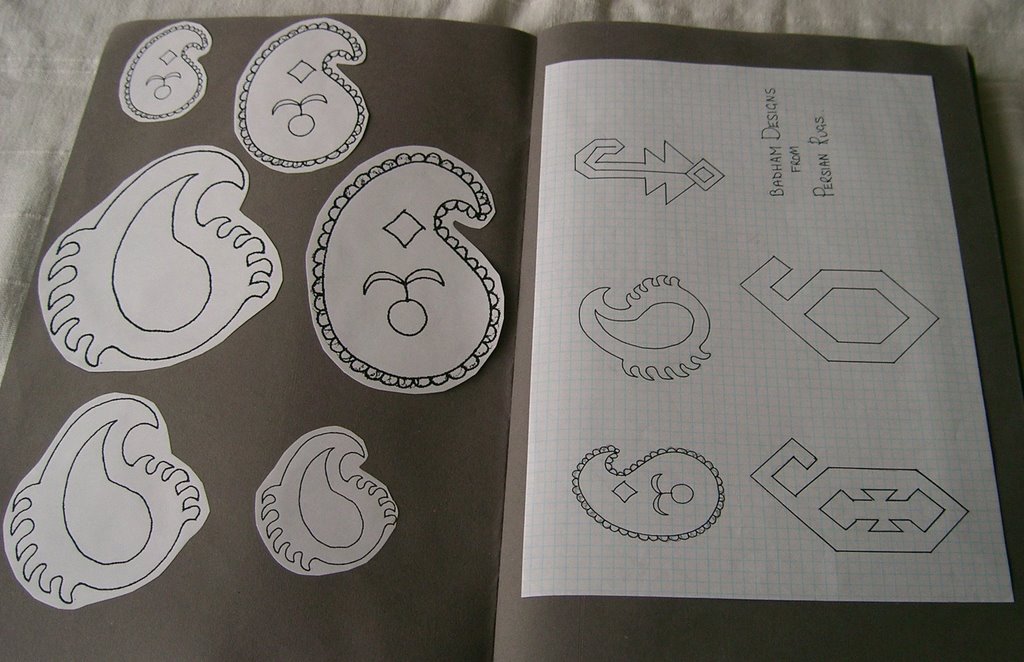
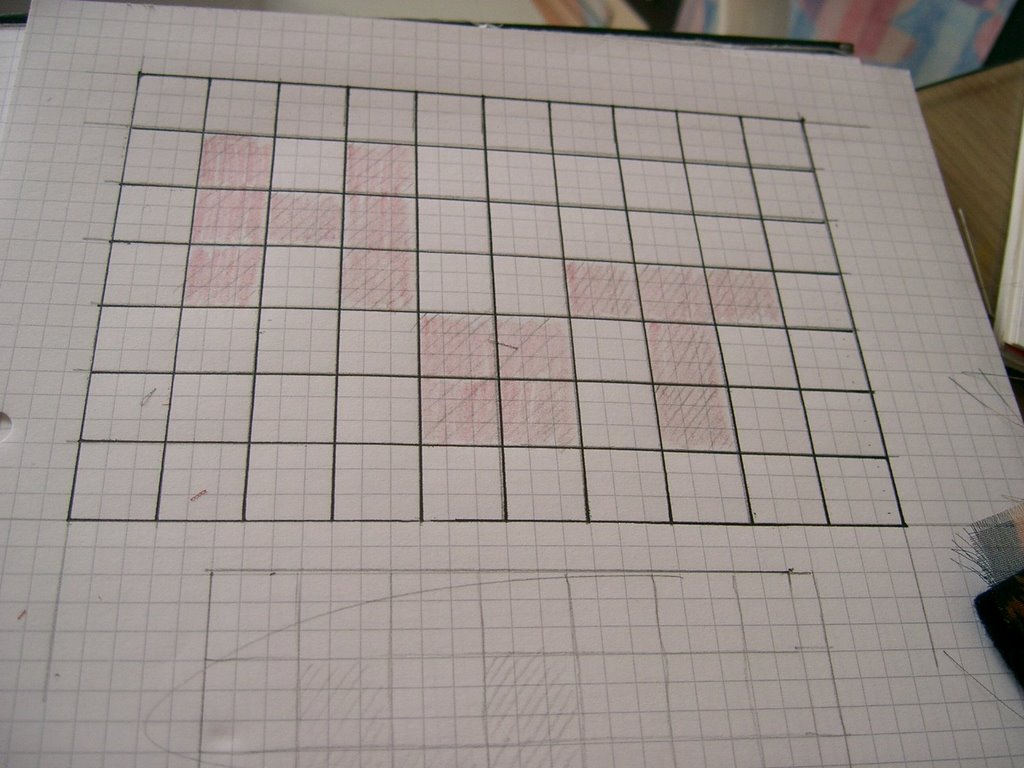
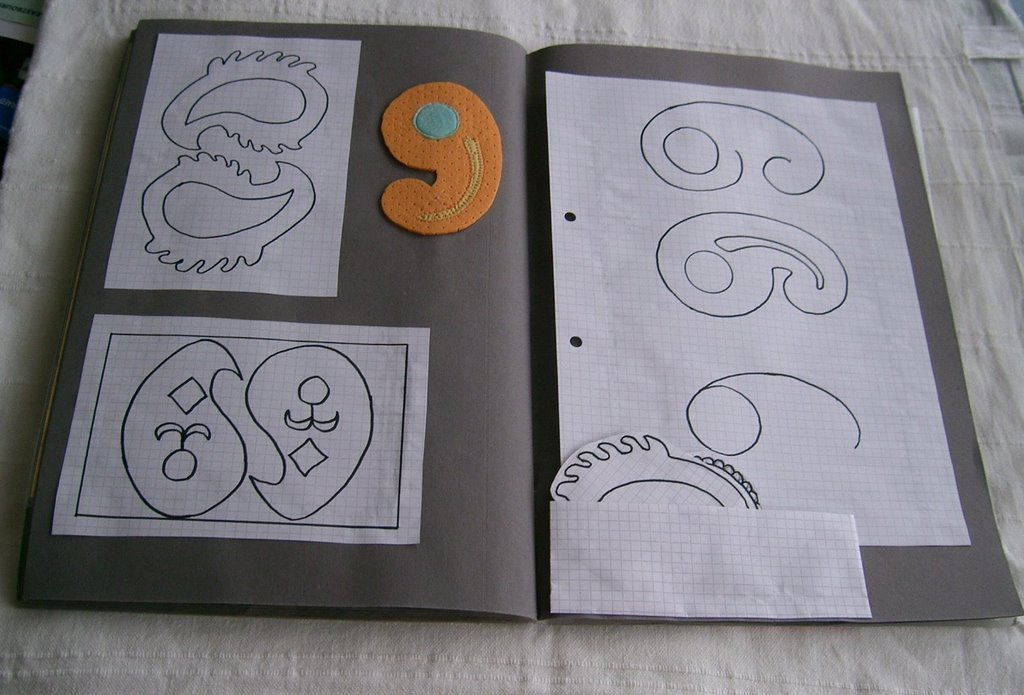
 Here's the next paisley motif, taken from the sketchbook page in the previous post.
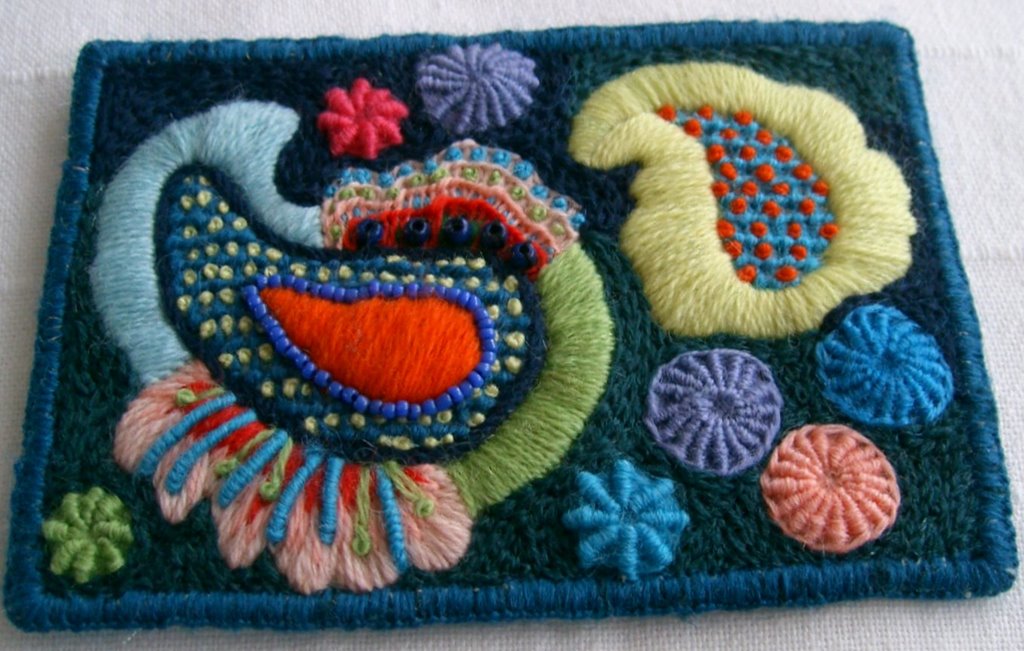

it just keeps growing!
It's postcard size, 6" x 4"
(click on photo for bigger image)
I'm still thinking about the 'paisley sampler' - deciding whether it should be lots of paisley motifs worked in different stitches and colours in stranded cotton with embellishments, or whether it should be lots of paisley motifs worked in different techniques. Maybe I will do both. And then there will be the 'experimental work'! I do like to take a theme like this and 'work it to death'.
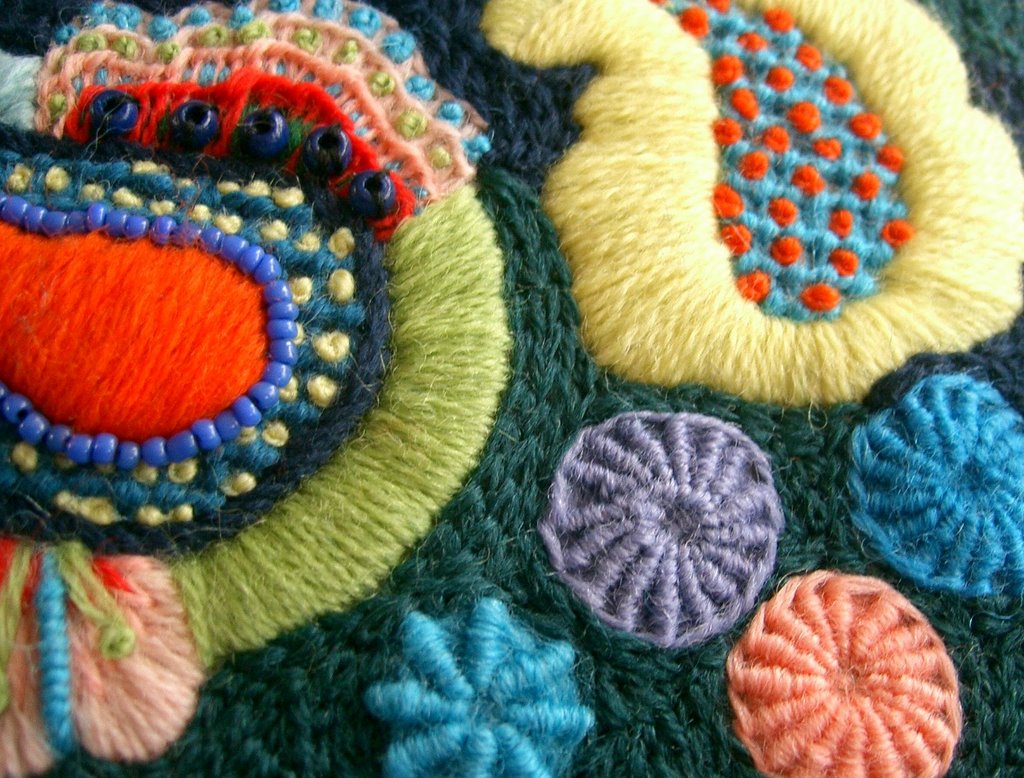
Here is a closeup:

(click on photos for bigger image)


 Maisie was busy kicking away, and when she looked up, she found herself face to face with a seagull! She looked around, discovered she could no longer touch the bottom and realised she had gone too far out. She started shouting but that quickly turned to crying and Joe immediately launched himself out on a rescue mission. His little legs go really fast and he soon reached his sister and began to push her back in with his own inflatable. They were quite safe because there is a ring of rocks around that part of the beach, but the water was very cold and they had both been in for quite a while and Maisie was beginning to panic, so the end result was that poor long-suffering Grandad had to jump in and push them both to shore.
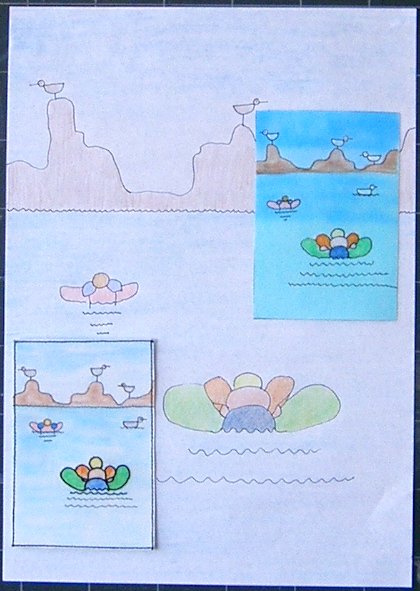
The postcard was about children, so I wanted a simple, childish style. The original sketch is in the background, with two versions of the postcard.
Both postcards are on craft vilene (pellon). The top one was sunprinted with silk paints. I cut out the shapes of the rocks and the children in paper, laid them in position on the painted vilene and put it oustide in the sun. Then I coloured it in with water colour dyes and outlined with a fine tipped permanent marker. The bottom one was coloured with water colour dyes and outlined with a fine tipped permanent marker, then I outlined the figure in the foreground with whipped back stitch in fine crochet cotton.
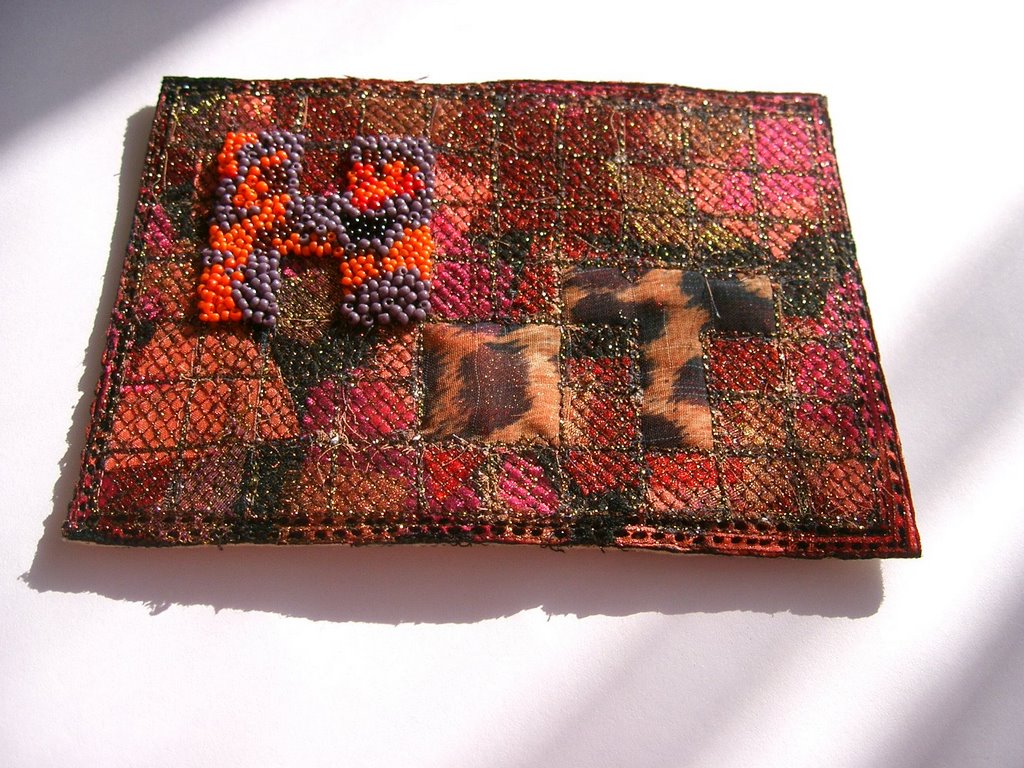
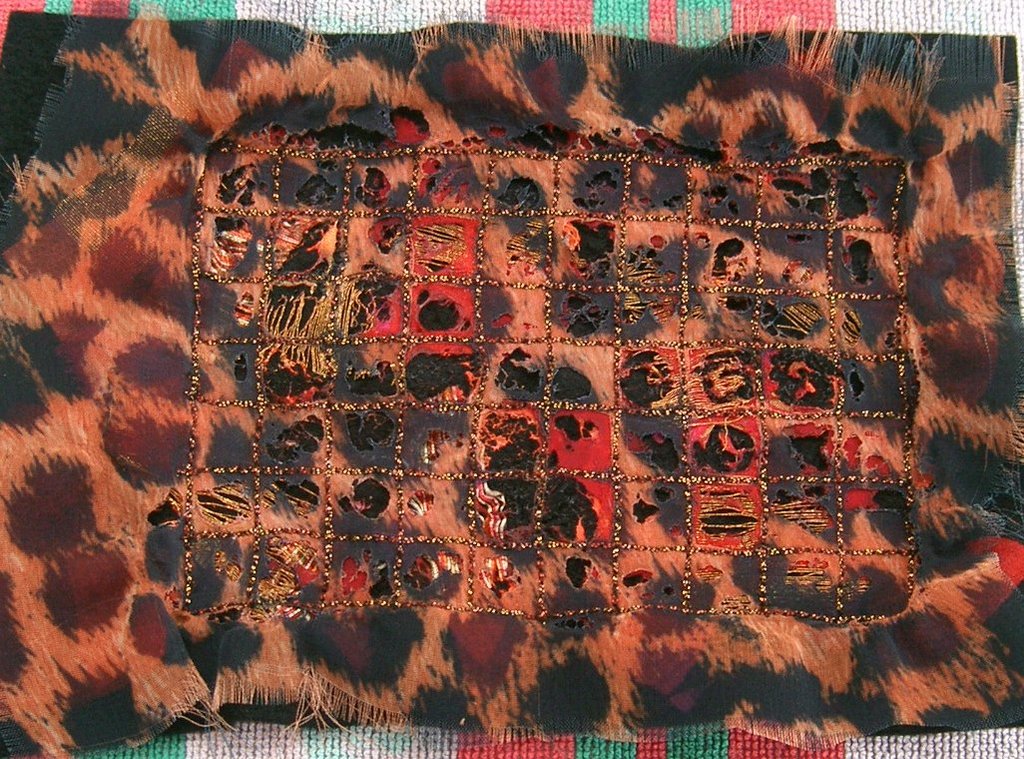
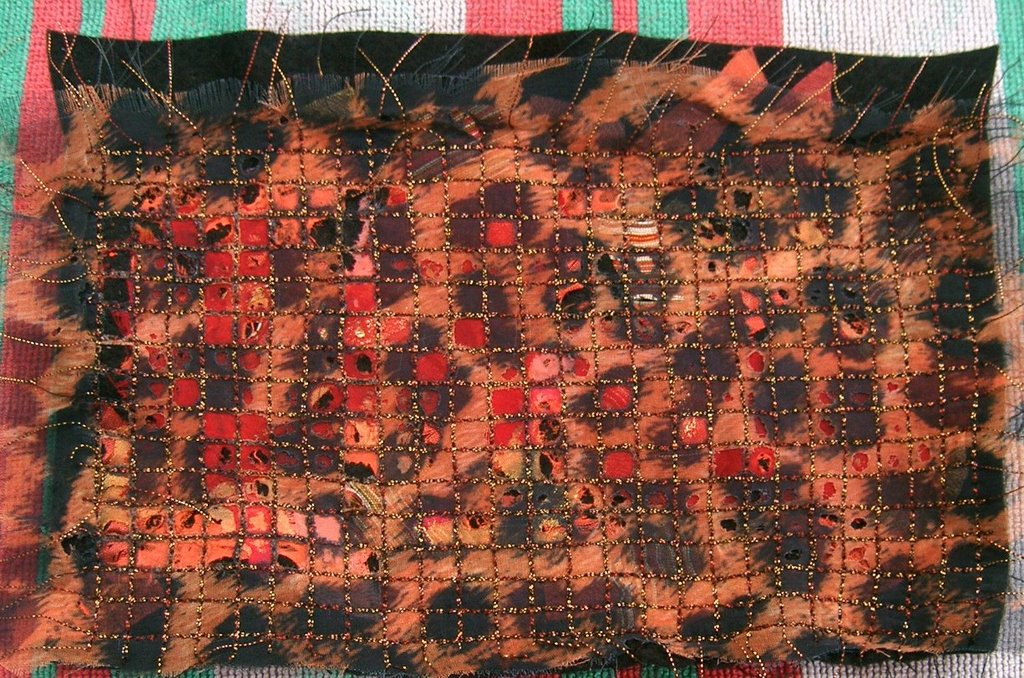
Here it is finished. I decided not to bead the other letters. I like the contrast. Also its an experimental piece and I wanted to be reminded of how it looked at that stage. I made a sandwich with craft vilene (pellon) in the middle and a piece of felt on the back. Its not going in the post, so I didn't need to be able to write on it. I find satin stitching often looks a bit heavy, so I was looking for a different way to finish off the edges. I straight stitched a few rounds with metallic thread. Then, with a soldering iron I 'stitched' between the rows of straight stitching to fasten the top fabrics together and make a decorative pattern. Then I ran the soldering iron round the outside of the postcard. It only cuts down as far as the craft vilene so I finally cut it out with scissors. A quick touch of the soldering iron to any stray whiskers, and it was done.


