Sunday, June 25, 2006

More square stuff

This is just strips of shiny polyester print fabric cut with a wavy cutter and silky knitting ribbon sandwiched between sheets of heat and bond vinyl, cut into a square and sewn into a small envelope type bag. Easy peasy.............................


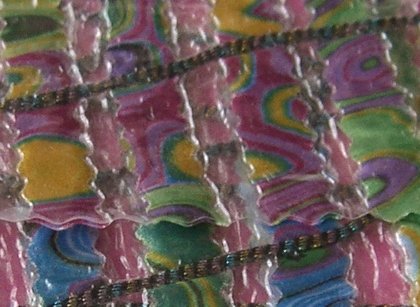
Here's a closeup........................................


(Click on photos for bigger image)


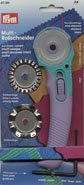
This is the kind of rotary cutter I use, it comes with straight, pinking (zigzag) and wave blades.

Sunday, June 18, 2006

Just FELT like a change!

Slight departure from the pinched and stitched square technique, another type of gift bag.


(Click on photo for bigger image)

This is handmade felt. I teased out the wool tops, making a batt, then added some bits of wispy knitting yarn and free machined over it with metallic threads. Then I moulded it around a plastic washing liquid ball and tied it up in a piece of old net curtain. I put it through a 60 degree wash programme with detergent, along with some other bits and pieces that I wanted to felt. Then I dried it out and cut a slit to remove the washing liquid ball. (I've also used this technique successfully by boiling the wrapped washing liquid ball in a saucepan with a little detergent).

I hand embellished it with beads and made a length of machine wrapped cord with some of the knitting yarns I had included in the felt batt and the metallic threads I previously used. I zigzagged a piece of the cord all around the opening, looping it around at the two corners and leaving long ends to make the handle. With a piece of the same cord I made a circle for the button loop and stitched that on, and I made a button with the rest by stitching it round in a spiral. Finally, I wrapped it back around the washing liquid ball, wet it and dried it with a hairdryer to restore the shape. The finished bag is a little bigger than a tennis ball. Here's a closeup showing the beading, edging and button.


(Click on photo for bigger image)

Friday, June 09, 2006

Using the same sidestitched square technique...


...............made a small gift bag


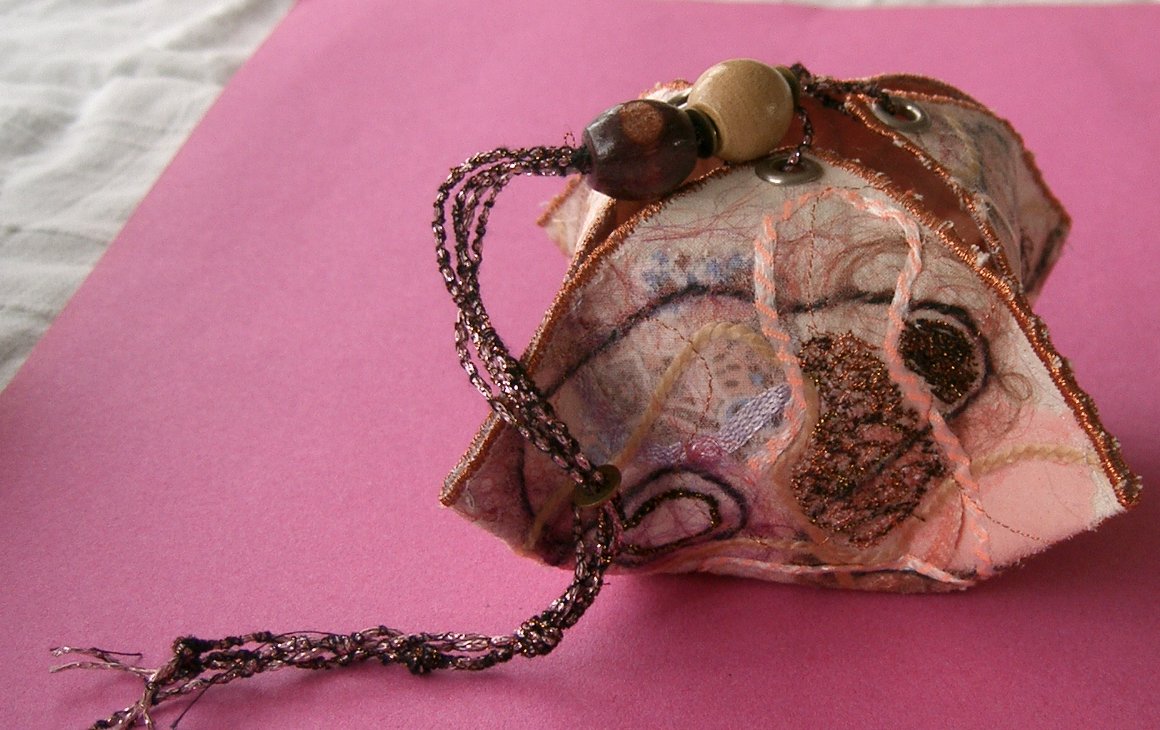
I used a square of calico (muslin). I covered it with small scraps of sheer fabrics and snippets of threads then ironed a sheet of bondaweb on the top and free machined all over it. Then I bonded a piece of silk to the back and cut it with a zigzag rotary cutter. I put a metal eyelet in each corner, then pinched in the sides and stitched halfway along the length. I added a matching machine wrapped cord with some wooden beads to make a drawstring, knotted at the end to stop the beads coming off. The medium weight calico and the bondaweb made this little bag stiff enough to hold its shape.
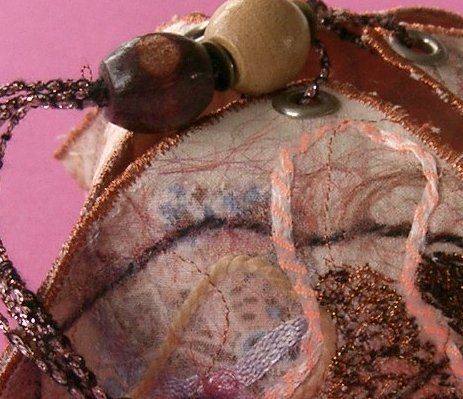
Here's a closeup

(click on photos for bigger image)

Thursday, June 01, 2006

Solid..........................


Similar to the last post, but using 'heat and bond' vinyl instead of soluble stabiliser for the sandwich, with a filling of thread snippets and teased out wool tops (roving). The vinyl over the wool tops gives an almost pearly effect. This one is meant to be looked into, so the metallic thread is on the inside, on the turned back corners.


(Click on photo for larger image)

Soluble...............

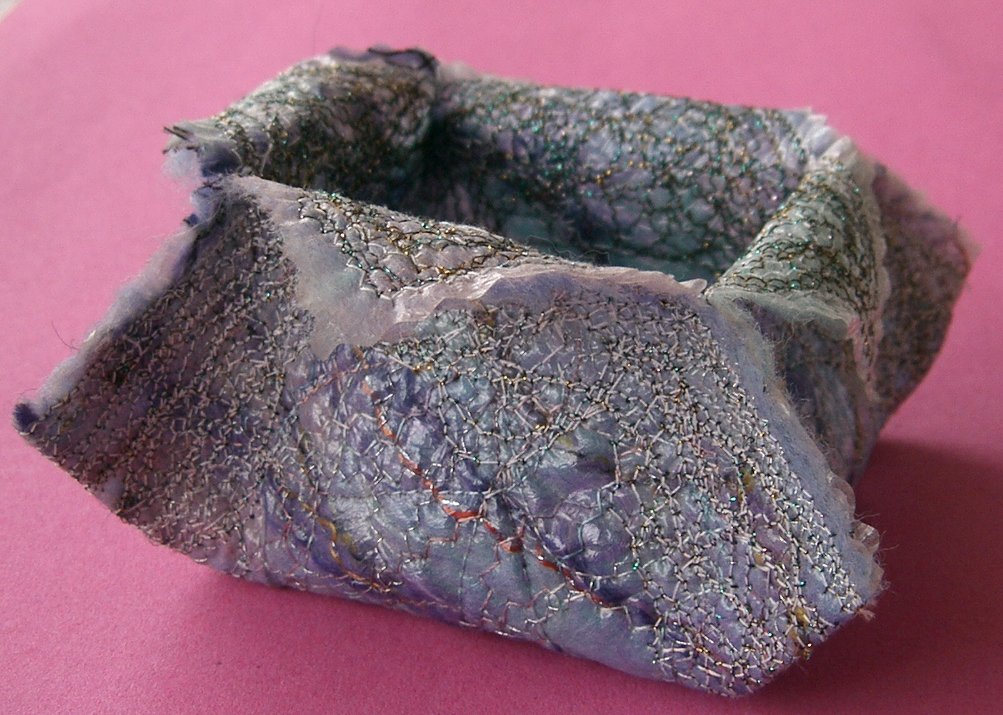
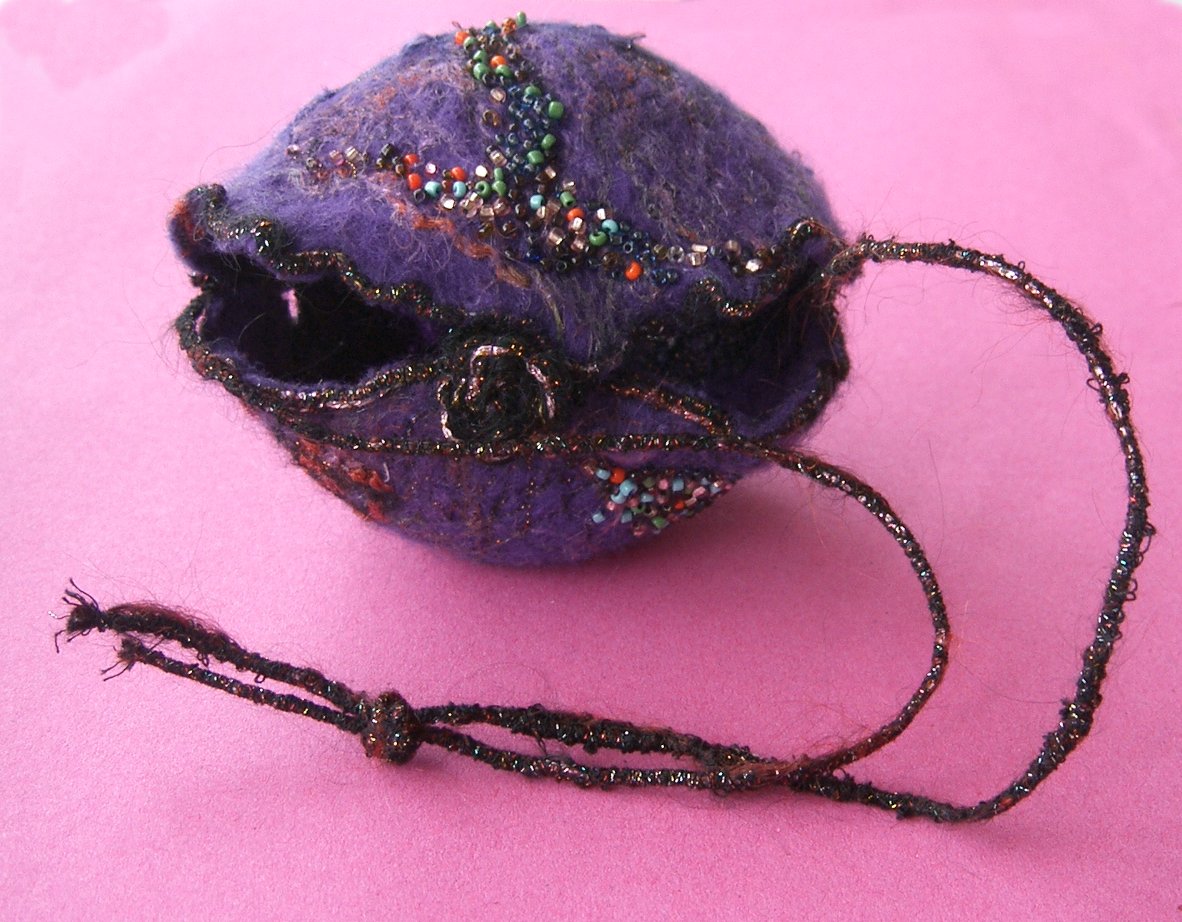
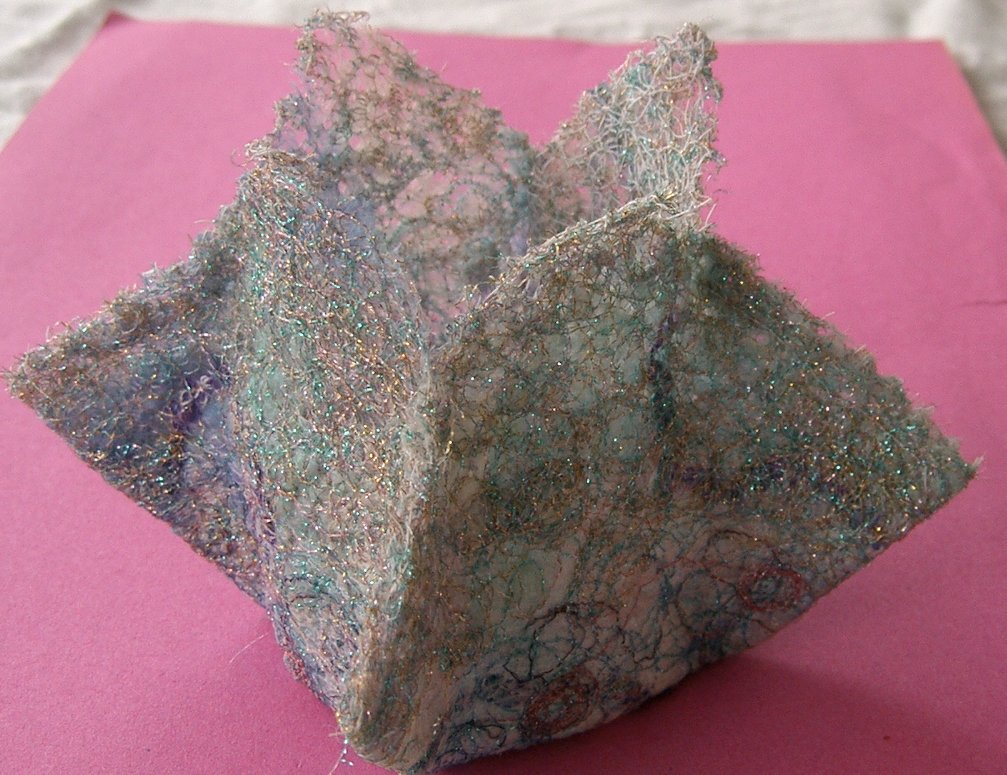
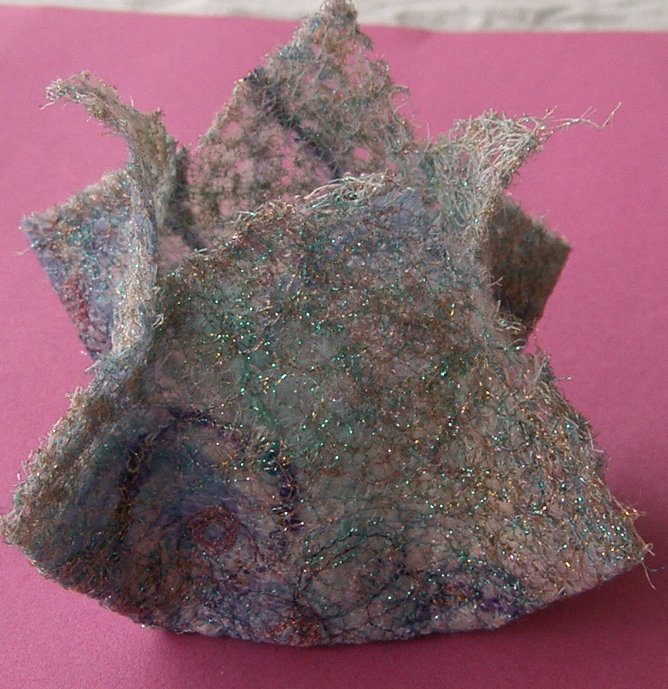
I've been messing around with soluble stabiliser.


I made a sandwich of stabiliser with snippets of various threads and some wisps of wool tops (roving)in the centre, hooped it and put in the sewing machine. Then I free machined all over it with polyester and metallic threads. Then I cut it into a square with a zigzag edge cutter, pinched the sides together in the centre and stitched them partway to make the shape. Finally I rinsed out the stabiliser leaving just enough to keep the fabric stiff, shaped it around a glass jar and left it to dry.

(Click on photos for bigger images)